April, 2025
There’s something timeless about a handmade photo frame. Whether it’s for a memory, a note, or a child’s drawing crafting it yourself makes it truly personal.
This weekend, we created a beautiful DIY paper frame using minimal materials and one key tool Munix scissors. And let’s just say… every snip sparked joy (and perfection!).
Use a ruler to draw two rectangles on craft paper—outer and inner (like a hollow window). Cut the outer shape first, then carefully the inner one. This forms the base frame.
Munix Tip: Their ergonomic handle and sharp blades help you cut corners smoothly no crumples or tears!
Cut another rectangle the same size as the outer frame and glue it behind the base, leaving the top open like a pocket. This is where your picture slips in.
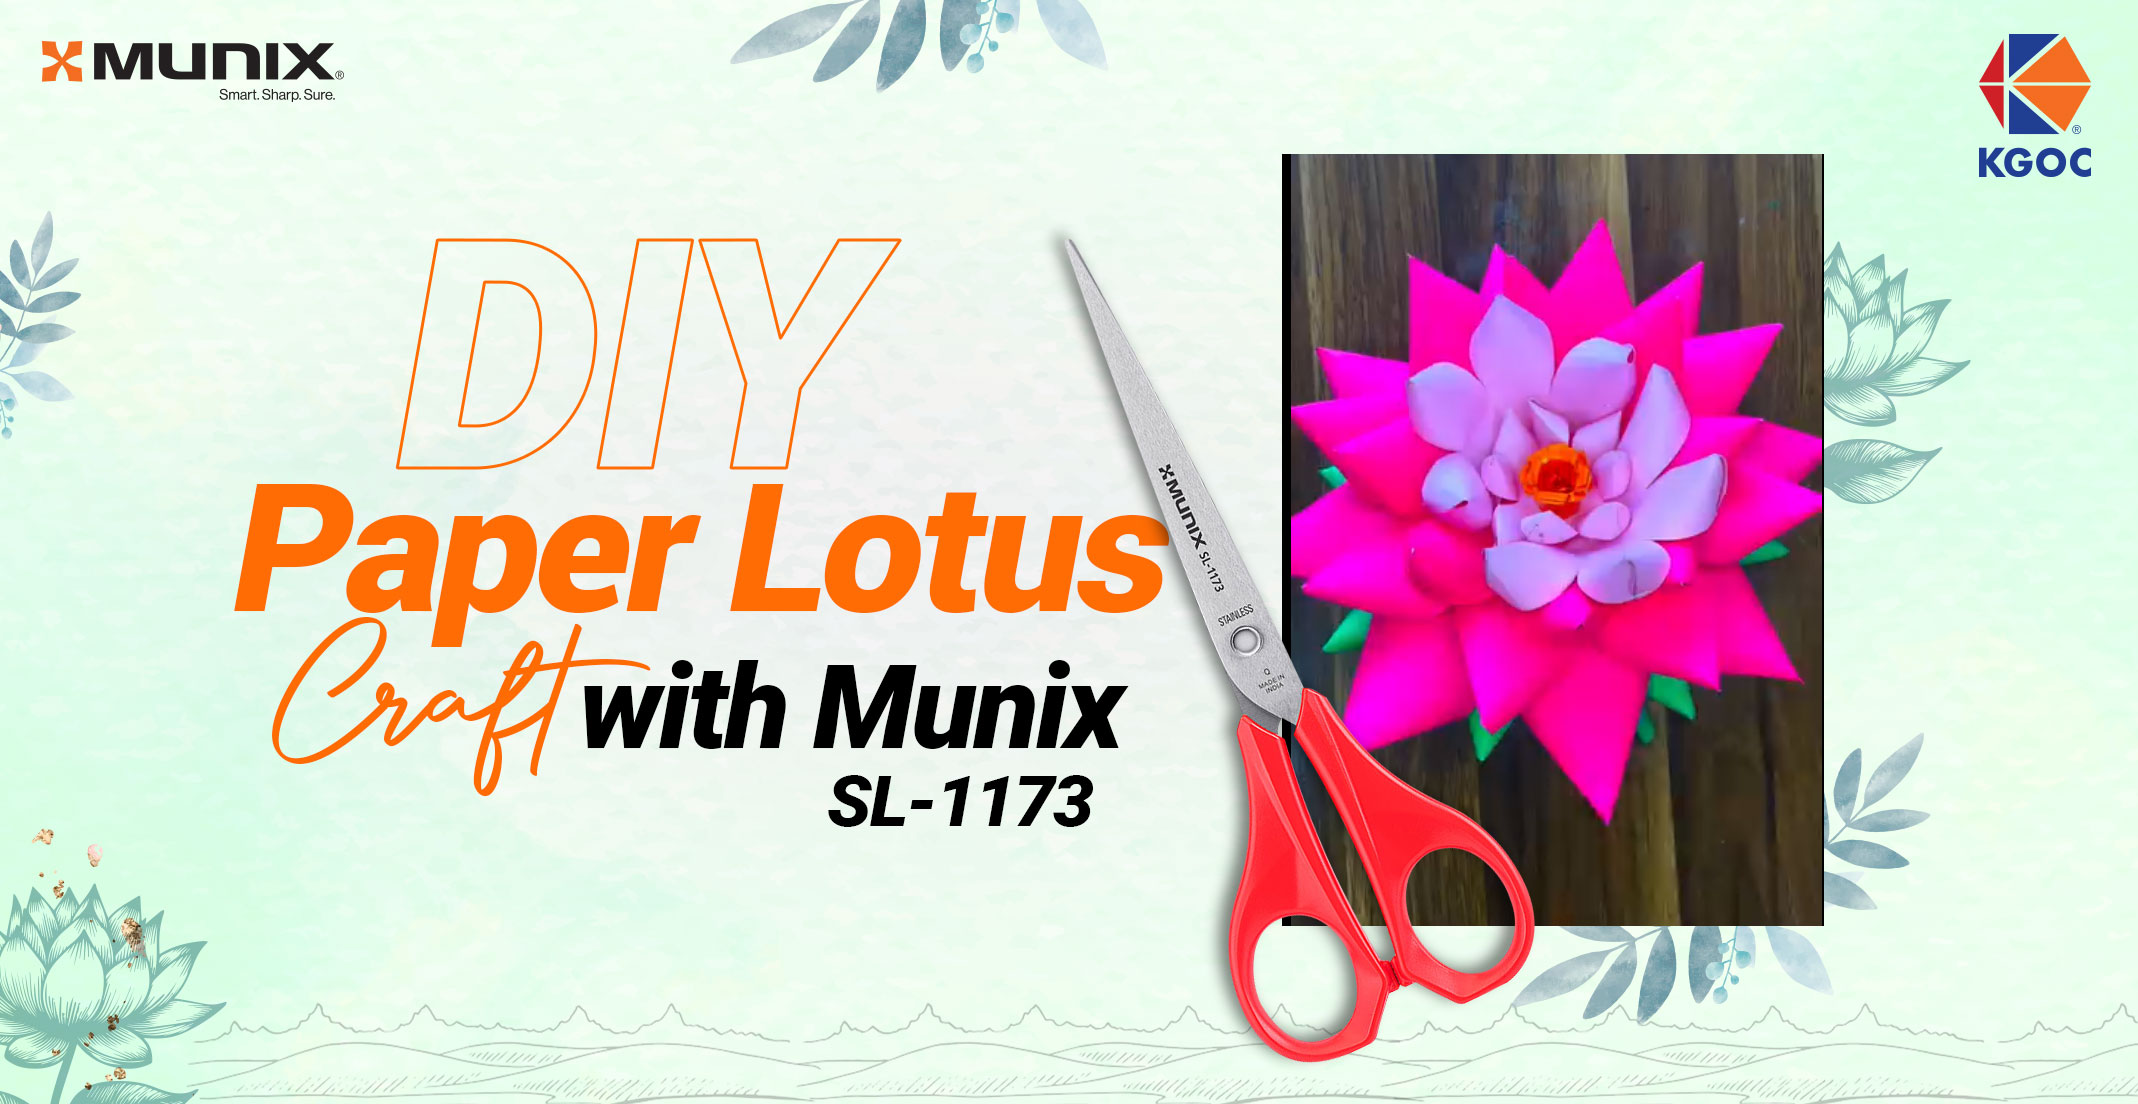
Add glitter lines, patterned paper edges, or stickers. You can even create paper flowers or origami bows with Munix scissors to glam it up.
Stick a triangular folded paper at the back as a stand or paste a magnet if you want it on the fridge.
Click here for video tutorial
Slip in your favorite photo, quote, or even a kid's drawing. Voilà! Your paper frame is ready to dazzle on desks, fridges, or shelves.
When it comes to crafts, clean cuts = clean results. Munix scissors give you precise control, reduce paper crumbling, and help your little details shine—whether it's a rounded petal or a narrow slit.